
By Automotive Research TeamUpdated 2026-09-26
How to Clean Throw Up Out of Car
how to clean throw up out of car starts in the first minutes, not after the smell has baked into the foam. Vomit is acidic and loaded with proteins, bile, and bacteria. Odor Removal Experts note that those compounds wick past fabric into cushion foam, floor padding, and carpet backing—far below a paper towel or air freshener. Jimbo's Detailing frames the same mess as a biohazard sanitation job: surface wiping does not stop bacteria from feeding on what soaked in. Act fast, blot instead of rub, keep heat off, then dig deep with an enzyme cleaner and dry the cabin completely. This guide covers the shared floor from detailing and odor guides—scrape, blot, cool rinse, enzyme dwell, extract, dry—then answers the decisions those pages raise and leave hanging: what to do on the roadside, how fabric differs from leather and carpet foam, how to clean throw up out of car seat hardware without wrecking webbing, when vents are involved, and when DIY stops.
Cabin messes also show up next to moisture and odor problems covered elsewhere on this site. A damp mat that never dries after a cleanup can fog glass and feed mildew the same way a wet spill does in the how to stop car from fogging up guide. Sticky residue left under seats can invite pests later; that overlap is why the how to get rid of ants in car sequence also starts with sanitation before chemistry.
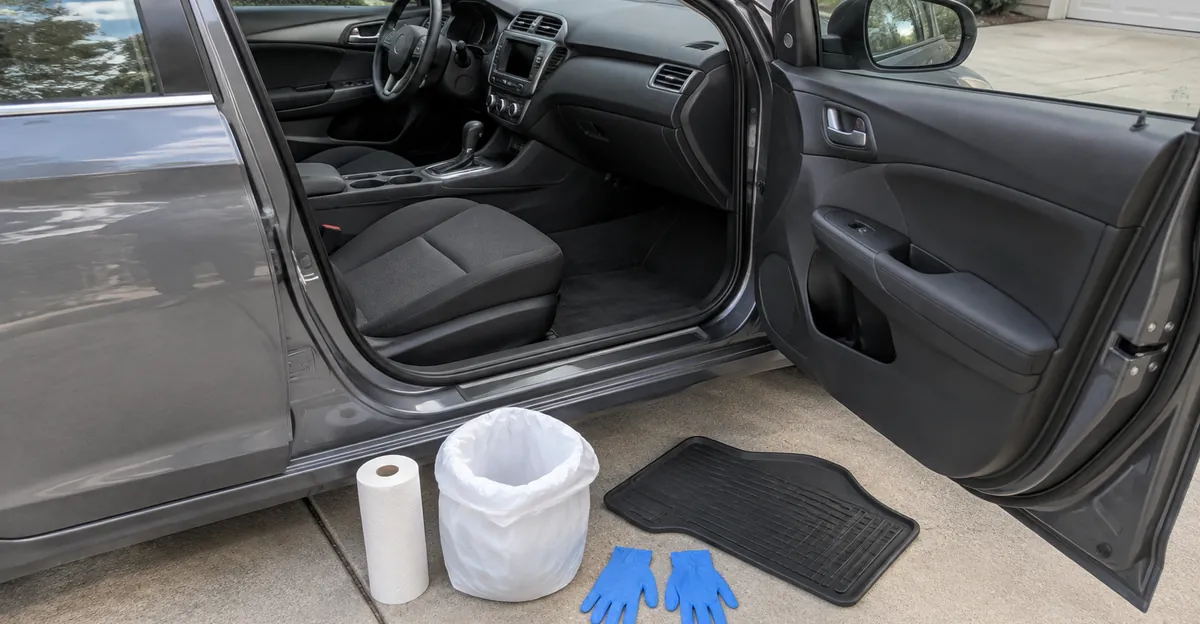
First Minutes on the Road: Contain, Ventilate, Then Finish at Home
A Girls Guide to Cars walks the roadside reality: a child can get sick mid-commute, and the driver has to stabilize the scene before a deep clean is possible. Pull over when it is safe. Open windows. Turn the HVAC fan and air conditioning off so you do not pull aerosolized smell through the cabin filter and ducts. Fresh air helps the sick passenger and slows the sympathy-puke chain reaction Lifehacker also warns about.
Keep a small kit in the door pocket or under a seat: disposable gloves, paper towels, plastic bags, baby wipes or sanitizing wipes, and a spare trash bag. Scoop solids into a bag. Blot liquids. Wipe hard plastics you can reach. Double-bag waste so it does not ride open in the cabin. That roadside pass is containment, not the finish line. A Girls Guide to Cars is clear that real cleaning starts once you are parked at home with room to work.
Do not blast recirculate or cabin heat to “dry” the spot while you drive. Jimbo's Detailing and Odor Removal Experts both warn that heat sets proteins and can lock odor into foam. Cool airflow through open windows is fine. Closed-loop AC on a fresh spill is not. If liquid ran under a floor mat, lift the mat edge when you stop so it is not sitting in a sealed wet pocket for the rest of the trip.
| What just happened | First move | What to defer until parked |
|---|---|---|
| Fresh spill while moving | Safe pull-over, windows open, HVAC off | Enzyme soak, extraction, full dry |
| Solids on seat or mat | Scoop into a bag, blot liquid | Deep crevice work under the seat |
| Child still nauseous | Ventilate, stop snacks, slow the ride | Full seat-cover wash and reinstall |
| Leather or vinyl splash | Blot, wipe with a damp cloth | Leather-safe cleaner and conditioner |
| Smell already strong in vents | Keep fan off | HVAC inspection after cabin clean |
Why Throw-Up Odor Survives a “Clean” Cabin
Odor Removal Experts describe the trap drivers hit after a careful wipe: the cabin looks fine, smells acceptable overnight, then turns sour on the first warm afternoon. Heat re-energizes molecules still trapped in foam and padding. Jimbo's Detailing adds the biology: proteins and fats soak into carpet padding and seat foam; bacteria feed on them and release foul gases; drying the surface only puts the colony to sleep until humidity returns.
Standard car shampoo and grocery-store “odor eliminator” sprays clean what you can see. They do not digest the protein layer below the fabric face. Odor Removal Experts put the failure line plainly: until that residue is broken down or removed, the odor returns every time the car heats up. That is why three rounds of perfume spray feel like progress and then collapse.
Missed reservoirs matter as much as chemistry. Liquid runs downhill into the seam where the seat bottom meets the backrest, and into carpet under the front edge of the seat. Odor Removal Experts call those the spots most people skip. Floor mats hide another pool: fluid passes through mat holes and sits on carpet for days. Lift mats early. Treat them apart from the carpet underneath.
Surface by Surface: Fabric, Carpet Foam, Leather, and Hard Trim
One method does not fit every interior. Sort the material before you buy product.
Cloth seats and carpet
Scrape solids with a plastic card. Blot from the outside of the stain inward so you do not push liquid into clean fabric—Odor Removal Experts’ blotting rule. Cool water rinse and blot again. Skip hot water and steam while proteins are fresh; Jimbo's Detailing states heat permanently sets protein-based stains and odors.
Apply an enzymatic cleaner generously enough to reach as deep as the vomit went. Odor Removal Experts stress that a light mist never catches liquid already in the padding, and that enzymes stop working when they dry out. Cover the area loosely so it stays damp through the label dwell time, often measured in hours for stubborn odor jobs—not a five-minute mist-and-wipe. AutoDetailPedia’s upholstery sequence then extracts with a wet/dry vacuum or upholstery tool, rinsing lightly and sucking until the return water runs clearer. Without an extractor, use damp towels to rinse and dry towels to blot, repeating until the spot feels only slightly damp, not soaked.
Do not drown the whole cushion. Odor Removal Experts warn that oversaturating foam that cannot dry creates a musty second problem. Saturate the contaminated zone. Then dry with doors open, fans aimed at the spot, and mats out until the foam is fully dry.
Leather and vinyl
Blot first. Use a pH-balanced leather cleaner or a mild soap solution the leather care label allows. Avoid bleach, ammonia, and harsh enzyme products that can dry or discolor finishes unless the product is rated for automotive leather. Lifehacker’s leather paste approach—baking soda with a little water, then gentle wiping—is a home stopgap, not a substitute for a leather-safe cleaner when the finish is coated or perforated. Perforated leather can hide liquid in the foam below the holes; if odor returns after the surface looks clean, treat it like a foam problem and consider a pro.
Hard plastics, cup holders, and door panels wipe with sanitizing wipes or mild soapy water. A Girls Guide to Cars suggests ammonia solution (about 1 part ammonia to 4 parts water) only on non-fabric surfaces. Keep that mix off cloth and leather.
Headliner and seatbelt webbing
Headliner foam is fragile. A Girls Guide to Cars recommends a foam fabric cleaner sprayed lightly, left to sit, then wiped—never flooding the liner so adhesive fails. Seatbelt webbing is a safety part. Wipe with mild soap and water unless the vehicle manual allows more. Do not soak belts in bleach or run them through a washer. If webbing is saturated with vomit and remains stained or stiff after careful cleaning, ask a dealer or restraint specialist whether replacement is required for safety, not only for smell.
How to Clean Throw Up Out of Car Seat
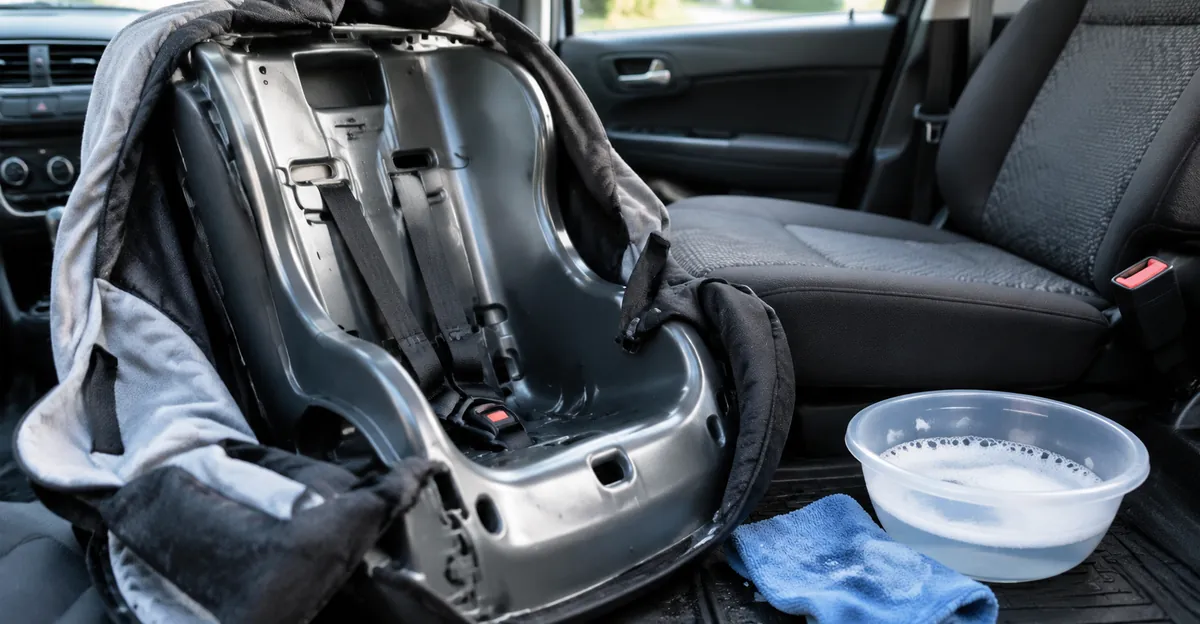
how to clean throw up out of car seat is a different job from cleaning the vehicle’s built-in upholstery. Child restraints have removable covers, foam inserts, harnesses, and LATCH hardware that each follow the manufacturer’s rules. A Girls Guide to Cars’ practical sequence matches what most manuals require: remove the seat from the car when you can, take off covers and padding the way the label allows, and clean to those instructions—often a machine wash for the cover and a wipe-down for the shell. Wipe cracks, crevices, and the underside. Then clean the vehicle seat and carpet under where the child seat sat, because spray and drip almost always reach that crease.
Harness webbing is the hard stop. Many manuals forbid machine washing belts or soaking them in strong chemicals. Wipe with a damp cloth and mild soap, then air-dry fully before reinstalling. Do not use bleach on webbing. Do not reinstall a seat while covers or foam are still wet; moisture trapped against the vehicle cushion recreates the bacterial cycle Jimbo's Detailing describes.
When you put the seat back, follow the manual’s LATCH or belt path and check that the seat does not move more than about an inch at the belt path—the common U.S. installation check parents already use after any removal. A clean seat that is loose is still unsafe. If vomit reached the vehicle’s lower anchors or seat bight deep enough that you cannot dry it, clean those areas before buckling the child seat down again.
If the child seat foam itself is soaked and the smell survives cleaning the cover, some manufacturers allow limited foam cleaning and others push replacement of the insert. Read the model’s care page. Guessing with bleach or a pressure washer can void the safety certification and ruin the foam.
Enzyme Cleaners, DIY Mixes, and What Actually Digests the Smell
Enzyme cleaners aimed at pet urine are the default tool across Odor Removal Experts, Jimbo's Detailing, AutoDetailPedia, and A Girls Guide to Cars. They use enzymes that break down organic proteins instead of masking them. Apply enough product to match the soak depth. Keep the area damp for the full dwell. Then blot or extract. Repeat if a faint odor remains after a full dry cycle.
Test a hidden patch first for colorfastness on dyed fabric and leather. Follow the bottle’s safety notes around kids and pets; keep wet product off skin and eyes, and keep children out of the wet zone until it is dry.
Baking soda and white vinegar appear in home guides and Good Housekeeping–style tips that A Girls Guide to Cars summarizes. Odor Removal Experts still rank them as stopgaps: useful on a fresh shallow spill, weak on set-in protein. Jimbo's Detailing answers “can baking soda remove vomit smells?” with a flat no for neutralization. Use them while you buy an enzyme product, not as the entire plan.
Laundry detergent diluted in cool water can help lift residue from mats after solids are gone. Diluted bleach (A Girls Guide to Cars cites about 1:10) is a last resort on colorfast, non-fabric surfaces only—and a poor default on dyed cloth, leather, and seatbelts because it can bleach fabric and irritate skin. Do not mix bleach with ammonia or vinegar. AutoDetailPedia and detailing shops push enzyme-first for a reason: bleach fights germs on hard surfaces but does not replace protein digestion in foam.
Air fresheners and scent bombs are not a step in this process. Jimbo's Detailing lists masking smells as a core mistake. You add fragrance on top of a food source for bacteria. The cabin smells like “pine plus sour” until heat brings the sour back alone.
Drying, Mats, and the Hidden Edges That Keep the Smell Alive
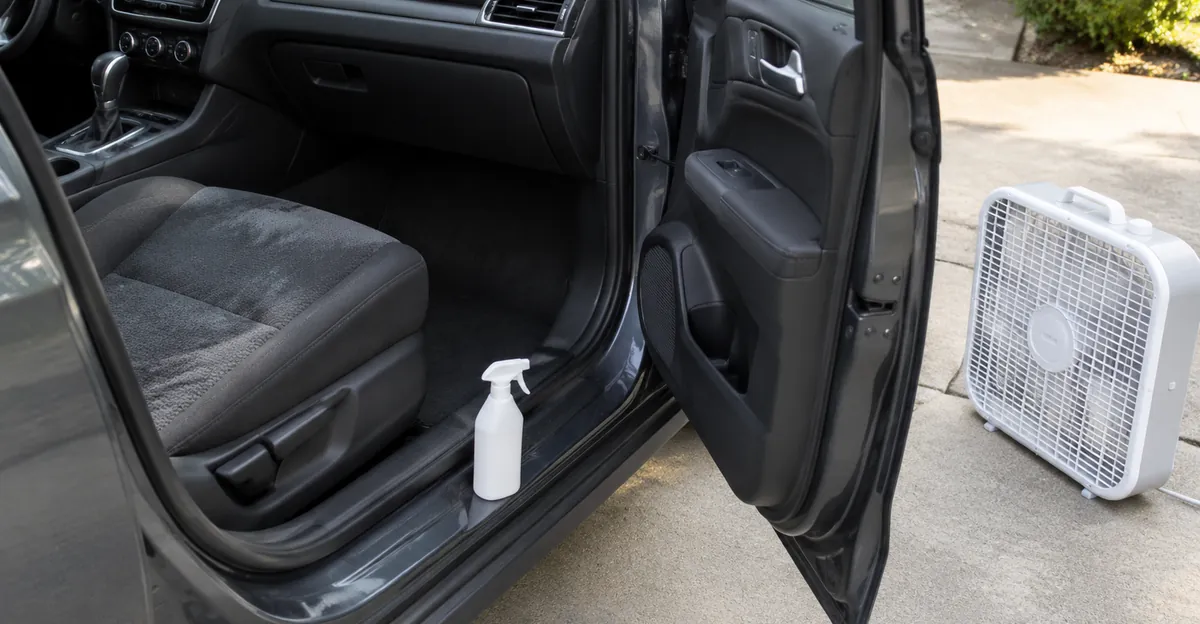
Cleanup fails as often from moisture as from weak chemistry. Jimbo's Detailing’s sanitation blueprint ends on drying: moisture fuels bacteria. Open the doors, aim a box fan at the seat or carpet, and leave floor mats outside until both sides are dry. Do not close the cabin up damp overnight “to let it rest.”
Pull mats early. Scrape, wash with soapy cool water, enzyme-treat fabric mats the same way you treat carpet, and dry them fully before they go back. Plastic all-weather mats wipe easier; still clean the carpet underneath where liquid pooled.
Check the seat bight, under-seat rails, cup holders, and the carpet lip under the seat front edge. Those are the reservoirs Odor Removal Experts highlight. A crevice tool on a vacuum after the area is dry helps pull dried debris from seams. Empty the vacuum outdoors.
If you also store wet sports gear or damp towels in the trunk after a cleanup day, you can reintroduce moisture and odor into the cabin on the next drive. Dry soft goods outside the vehicle.
Mistakes That Lock the Smell In
Rubbing instead of blotting grinds solids into fibers and spreads the stain sideways—Odor Removal Experts’ first-hour warning. Hot water or steam on fresh proteins sets the stain and odor; Jimbo's Detailing calls steam unsafe for biohazards for that reason. Oversaturating a seat until the foam cannot dry trades vomit smell for mildew smell. Skipping the dry step guarantees a comeback on the next humid day.
Closing the windows and blasting recirculate right after a spill moves smell into ducts. Spraying perfume into vents does the same with fragrance on top. Aerosol into airbag zones and under-dash wiring is a separate hazard; keep chemistry on the contaminated textile, not fogged into the dash.
Bleach on colored fabric, ammonia on leather, and machine-washing harness webbing against the child-seat manual are damage risks, not shortcuts. Leaving a wet child-seat cover reinstalled overnight traps moisture against both the restraint foam and the vehicle cushion.
Waiting days because the cabin “looks fine” is the most expensive delay. The longer vomit sits, the deeper it wicks and the faster bacteria multiply—Odor Removal Experts’ speed-over-perfection rule in the first hour.
When DIY Stops: Foam, Vents, Pros, and Cost Drivers
Stay DIY while the spill is recent, you can reach the wet zone with enzyme and extraction, and the smell fades after a full dry. Escalate when:
- A proper enzyme soak and complete dry still leave a sour smell, especially when the cabin heats up.
- Liquid clearly reached deep foam, carpet jute, or the seat frame.
- The odor is strongest when the fan runs, pointing at HVAC paths.
- The mess sat for days in summer heat before anyone cleaned it.
Odor Removal Experts draw the line after a fully saturated enzyme treatment fails: more retail scrubbing rarely moves the needle. Their pro stack includes deep cleaning, enzymatic and oxidizing treatments, thermal fogging for gaps and vents, hydroxyl generators for lighter linger, and HEPA with activated-carbon scrubbing. They state they do not use ozone or chlorine gas because ozone is toxic and can damage rubber, leather, and plastics. Jimbo's Detailing mentions ozone and chlorine dioxide (ClO₂) as escalation tools only after sanitation—and only in professional hands. Those two shops disagree on oxidizers. For a U.S. consumer, the practical takeaway is: finish mechanical cleaning and enzyme work first; if you hire a shop, ask what oxidizer they use, whether the cabin must be vacant, and how they protect leather and rubber.
Cost has no single national sticker price. Odor Removal Experts list the real drivers instead of a fake flat fee: how long the vomit sat, how deep it soaked, vehicle size, whether padding or HVAC is involved, and how many methods the job needs. A same-day catch is usually smaller than odor that cured into foam over weeks of heat. Ask for a written scope: seats only versus carpet and pads versus vent treatment. Approximate interior biohazard or odor jobs at independent U.S. detail shops often land in a wide band from roughly the low hundreds of dollars for a limited seat job into higher hundreds when foam, multiple rows, or HVAC work is included—always confirm local quotes, because labor rates and methods vary by shop and region. Do not treat any range as a promise of claim coverage; auto insurance rarely treats ordinary child carsickness as a covered loss unless a separate policy detail says otherwise.
If vents smell when the blower runs after the seats are clean, stop spraying into the ducts. Have a shop inspect cabin filter condition and evaporator odor. DIY fog cans rarely fix a soaked evaporator and can leave residue on electronics. Describe whether the smell is strongest at startup, only on heat, or only on A/C so the tech can sort evaporator mildew from vomit vapor paths.
Prevention for Carsick Kids and Repeat Trips
A Girls Guide to Cars’ prevention list is practical: watch for nausea signs, keep bags and wipes within reach, and avoid heavy greasy snacks right before a long ride. Motion-sickness habits—fresh air, eyes on the horizon, scheduled stops—cut how often you need this guide. Stock the kit once so the first minutes are not a scramble.
After any incident, finish the dry. Put mats back only when dry. Vacuum crumbs that would otherwise mix with any leftover film. If someone in the household is prone to carsickness, a washable seat protector under a child seat can limit how much reaches the vehicle foam—without replacing the need to clean the child seat itself when it gets hit.
Sticky cabin residue also invites ants and other foragers; keep the no-loose-food habit from the ants guide so a cleaned cabin does not become a second problem. Moisture control after a wet cleanup overlaps with fogging and mildew habits already covered on the fogging page.
FAQ
how to clean throw up out of car seat
Remove the child seat when it is safe to do so, take off covers and pads only the way the manufacturer allows, and wash or wipe per that label. Wipe the hard shell, harness guides, and LATCH hardware with a damp cloth and mild soap. Do not soak webbing in bleach or machine-wash belts unless the manual says you can. Clean the vehicle seat under the child seat next, because liquid often pools in the crease and carpet edge.
Why does vomit smell come back when the car heats up?
Odor Removal Experts explain that heat re-energizes odor molecules still trapped in foam and padding. A cabin that smells fine in the morning and sour by afternoon usually means only the surface was cleaned. Enzyme treatment has to reach as deep as the liquid wicked, then dry completely, or bacteria keep feeding on leftover protein.
Can baking soda or vinegar remove vomit smell in a car?
Odor Removal Experts treat baking soda and diluted vinegar as stopgaps for a fresh, shallow spill. They help on the surface but do not break down proteins the way an enzymatic cleaner does. Jimbo's Detailing is blunt that baking soda absorbs surface odor without neutralizing the enzyme food source. Use them only until you can apply a real enzyme product, then reassess after a full dry.
When should I call a pro for car vomit odor?
Call a professional detailer or odor specialist after a full enzyme soak, extraction or blotting, and complete drying still leave a sour smell, especially when heat brings it back. Odor Removal Experts flag deep foam, carpet jute backing, seat frames, and HVAC paths as DIY limits. Jimbo's Detailing escalates only after sanitation fails. Describe how long the mess sat and whether vents smell when the fan runs.